How to use Bookable Schedule on your Android device
How to share a Bookable Schedule
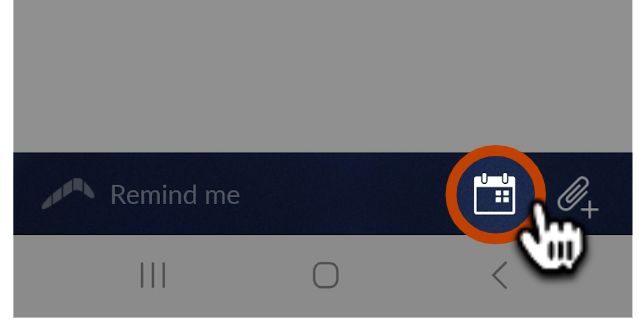
- 1
- When composing a message, tap on the Calendar Icon in the bottom right corner of the compose window.
-

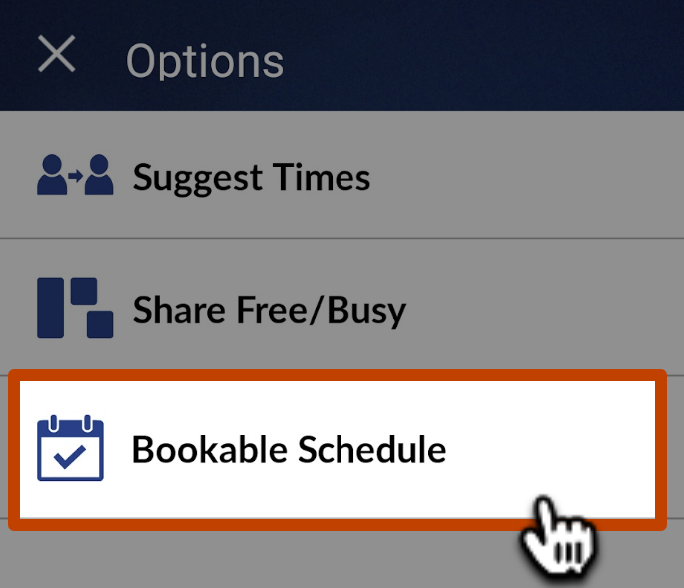
- 2
- Tap Bookable Schedule.
-

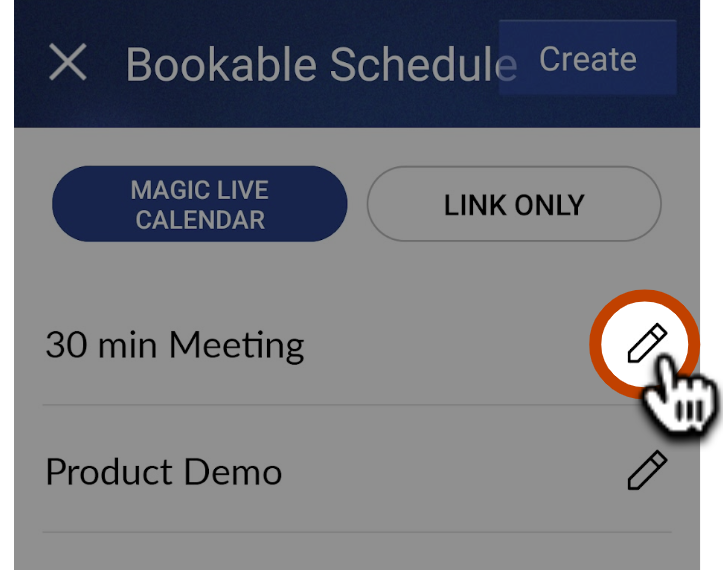
- 3
- Choose whether you want to insert the schedule as a Magic Live Calendar (MLC) or a meeting scheduling link. Our patented MLC inserts a dynamic calendar image that updates with your availability in real time. Your recipient can even overlay their calendar on it so they can easily choose the best time!
-

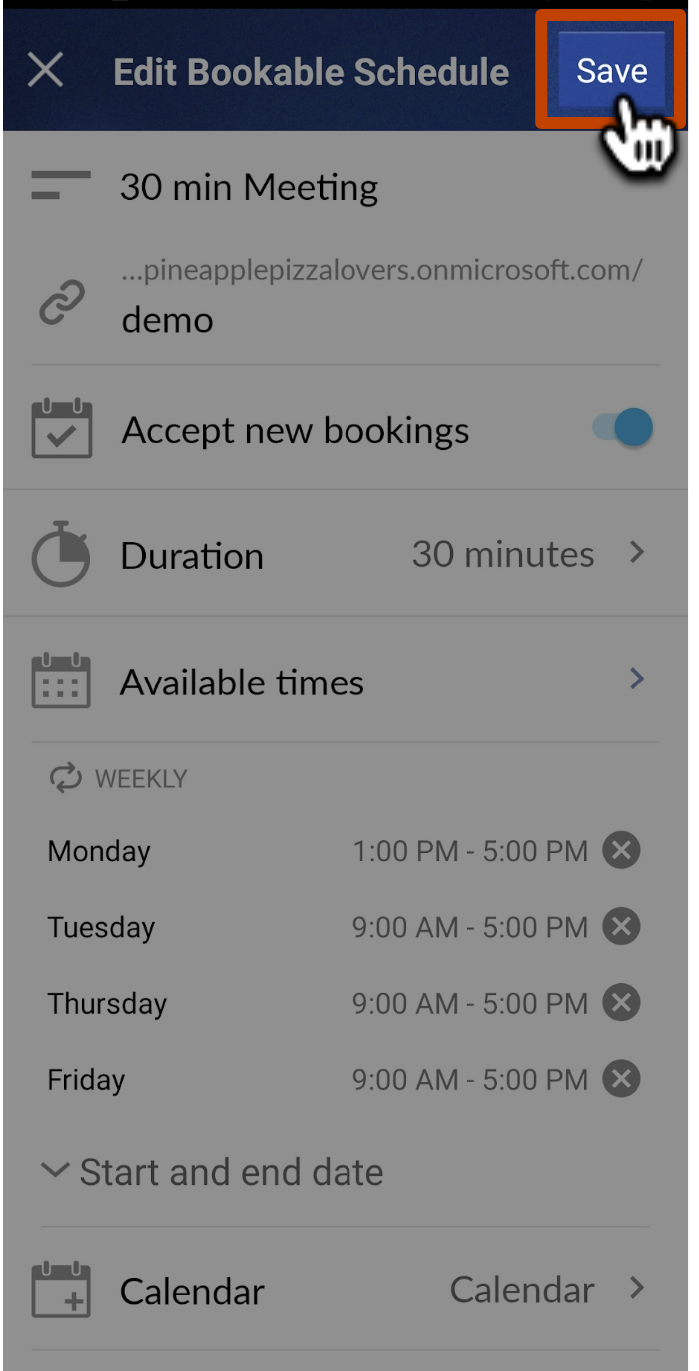
- 4
- Finally, select the schedule you want to insert and you're all set! Your Bookable Schedule will now be inserted into the draft you are composing.
-


How to edit a Bookable Schedule