Using Bookable Schedule across time zones
In this article:
- How do I change the primary time zone for my Bookable Schedule?
- How can I show multiple time zones for my Bookable Schedule?
How do I change the primary time zone for my Bookable Schedule?
We will automatically set your primary time zone based on the time zone of your browser, but if you need to change the primary time zone for your Bookable Schedule, you can do so by editing it from the Manage Page. Click Edit to begin.

- 1
- After clicking on Edit, expand the Availability section.
-

- 2
- Click on the dropdown menu for Times Shown In, and select your desired primary time zone.
-

- 3
- Adjust your general availability for that time zone if needed, and click on Save Changes when finished. You'll be given 2 options:
- 1. Update Existing: Updates the time zone (and any additional changes) for all Bookable Schedules using that Availability Set.
- 2. Save as new...: Updates the time zone for just this Bookable Schedule, creating a new availability set for that time zone.
-

- 4
- Click on Done Editing when finished to save the changes you made.
-


How can I show multiple time zones for my Bookable Schedule?
When you want to show a secondary time zone for the Bookable Schedule, you can do customize it when inserting the Bookable Schedule.
- 1
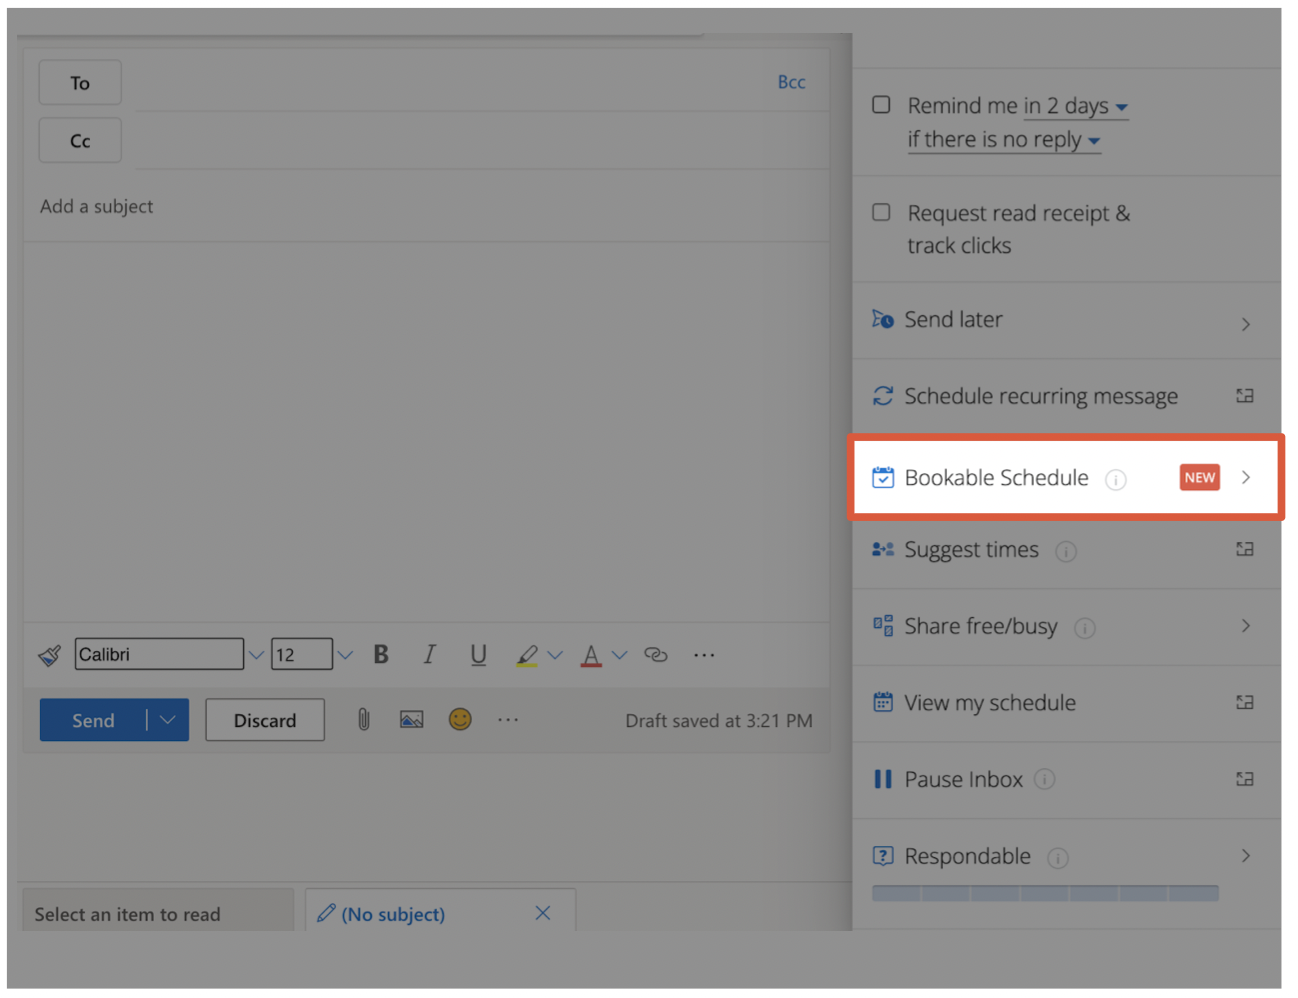
- In the Outlook ribbon, click on Open Boomerang, and then click on Bookable Schedule in the task pane.
-
- 2
- Select the desired Bookable Schedule Calendar, then click on Personalize Invitation.
-

- 3
- Click on Add Recipient's Time Zone.
-

- 4
- Select their time zone.
-

- 5
-
Click on Insert with these details (or, you can Insert Link).
 Your Bookable Calendar will be inserted into your email, and will show the available meeting times in both your primary time zone, and the recipient's time zone.


